Total Pageviews

Thursday, May 30, 2013

German Pancakes

German Pancakes


Preheat oven to 425 degrees,  cooking time is 20 minutes.  Melt butter in 2 glass pie pans.  Mix flour, milk, sugar, and eggs with a hand mixer.  Top with powdered sugar and raspberry jam.

2 T butter 1/2 tsp sugar
1 cup flour         4 eggs
1 cup milk


Wednesday, May 29, 2013

Oatmeal Bread

Oatmeal Bread


1 1/2 cups oats                                                  1 T yeast
2 cups boiling water                                           1/4 cup warm water
2 tsp salt                                                          1 cup wheat flour
2 T butter                                                         3 to 3 1/2 cups white flour
6 T brown sugar
 
Put oats in bowl and add boiling water.  Add salt and butter. Let cool.  Dissolve yeast in warm water.  Add wheat flour and 2 cups white flour to oats.  Add yeast and brown sugar.  Mix well.  Knead for 8 to 10 minutes adding as much of the remaining flour as needed. Cover and let rise until double, about 1 hour.  Punch down, knead for 1 minute then cut in half.  Put into two greased 8" x 4" pans and let double, about 45 minutes.  Bake at 350 degrees for 30 minutes.   Remove from pans and rub butter on the top crust.  Optional.  Add 1/4-1/2 cup sunflower seeds to dough.     


Food Storage

The pioneer farmers from the past would grow their crops and raise their animals for food.  Then they would store the food to use in the upcoming year.  We basically do the same thing.
                We have a large food storage supply of all the things that we use, from toothbrushes and toilet paper to steak sauce and salad dressing.  Other items in our food storage include 300 or so jars of food that we have canned, basics like flour, beans, sugar, rice, and the like, and convenience items such as cans of chili, soup, and other commercially canned food.   We have taken into account our unique needs and tastes, and have included foods that we enjoy and are also high in calories and nutrition. These are foods that require no refrigeration.  In order to rotate the food items in our storage, we put the newer items, in back of the older ones.


Canned Jars
Assorted Items


Cases
http://www.selfsufficiencyhowwedoit.com

Burn Barrel/Container

We try to live as frugally as we can, within reason.  In the past we have used a burn barrel, or 55 gallon drum with the top cut off, to burn our kitchen trash.  Then every year or two the burn barrel would have to be replaced because it would rust through and come apart.  So, one day I saw a cinder block burn container and decided to try it.  I was given some cinder blocks, and used them for the container.  I set some of them sideways along the bottom and half way up for air flow, to help the fire burn hot.  Since we live in the country  it doesn't have to look real good visually.  The burn container burns very hot and consumes all of the burnable trash, and we won't have to worry about replacing it every year or two.

Cinder Block Burn Container

Tuesday, May 28, 2013

Our Greenhouses and How Much We Grow

      In order to provide the food that we need throughout the year, a lot of planning and follow-through is necessary.  It is important to grow the foods that our family likes otherwise a lot of time and effort is wasted on food that eventually goes to the animals.  At first we started small, and grew a variety of things without knowing how much we should grow.  Over time, we have discovered the amounts of vegetables that we should grow in order to produce enough which will fill our needs for a year.  Naturally, those that we use a lot of, such as tomatoes, are grown in larger amounts so that we can preserve all that we need for the year.  We preserve a lot of tomato sauce for spaghetti, stewed tomatoes, and salsa. We have discovered that we should grow 12 Roma variety tomato plants, in order to get enough to preserve for the year.  Some we plant in the garden and some we plant in our two bigger greenhouses.  By planting in the greenhouse this way, we can hedge against a sudden freeze.  If there is an unusual and unpredicted mid-summer freeze, we may lose the tomatoes outside, but the plants in the greenhouses will survive.  We also use a lot of green beans, so we grow a large amount of these.  We preserve many canned pints of green beans to last the year, and freeze some to use in stir fry recipes.  And, we also use them fresh throughout the summer.  


Greenhouse #2 Outside


Greenhouse #3 Outside


Greenhouse #2 Inside


Greenhouse #3 Inside


We have found out the amounts of each food that we need for the year, through trial and error.  The vegetables that we produce will be eaten fresh, and then the extra will be preserved by canning or through freezing.  So, eventually it will all be used.  It was very satisfying when we were able to get to the point of producing all of a certain variety of vegetable that we would need for the year.


Our Garden This Year

Our primary garden is approximately 60' x 60'.  In this garden we plant corn rows in a section approximately 20' x 40'.  We plant about three rows of carrots in 20' long rows.  And, in the remaining area we plant celery, beets, bell peppers, zucchini squash, crookneck squash, Chinese peas, pod peas, some pumpkins, onions, and herbs.  In a second garden which is out past our orchard we grow many pumpkins, some watermelon, more corn, carrots, asparagus, onions, and whatever else we want to try.
                In order to water our main garden we have tried drip irrigation because of the sandy ground.  But, even with filters installed we have had many problems with the lines plugging up, which usually is evident from the slow growing or dying plants near the plugged line.  We have also tried to flood irrigate the garden with a 1-1/2 inch line, which works pretty well as long as we move it several times so all the ground gets flooded.  In order to keep the irrigation water in the area that is getting flooded, a 3 or 4 inch tall dike needs to be banked along the perimeter of that section.  It is also necessary to divide the garden into fourths, so the flooding can be contained to the smaller areas in order to provide complete coverage.  We have also tried sprinklers, which work fine if the wind isn't blowing hard.  So, we use a combination of flood irrigation and sprinklers to water the garden, which together provides good coverage and deep enough watering.

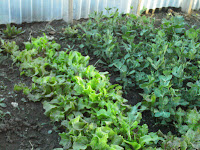
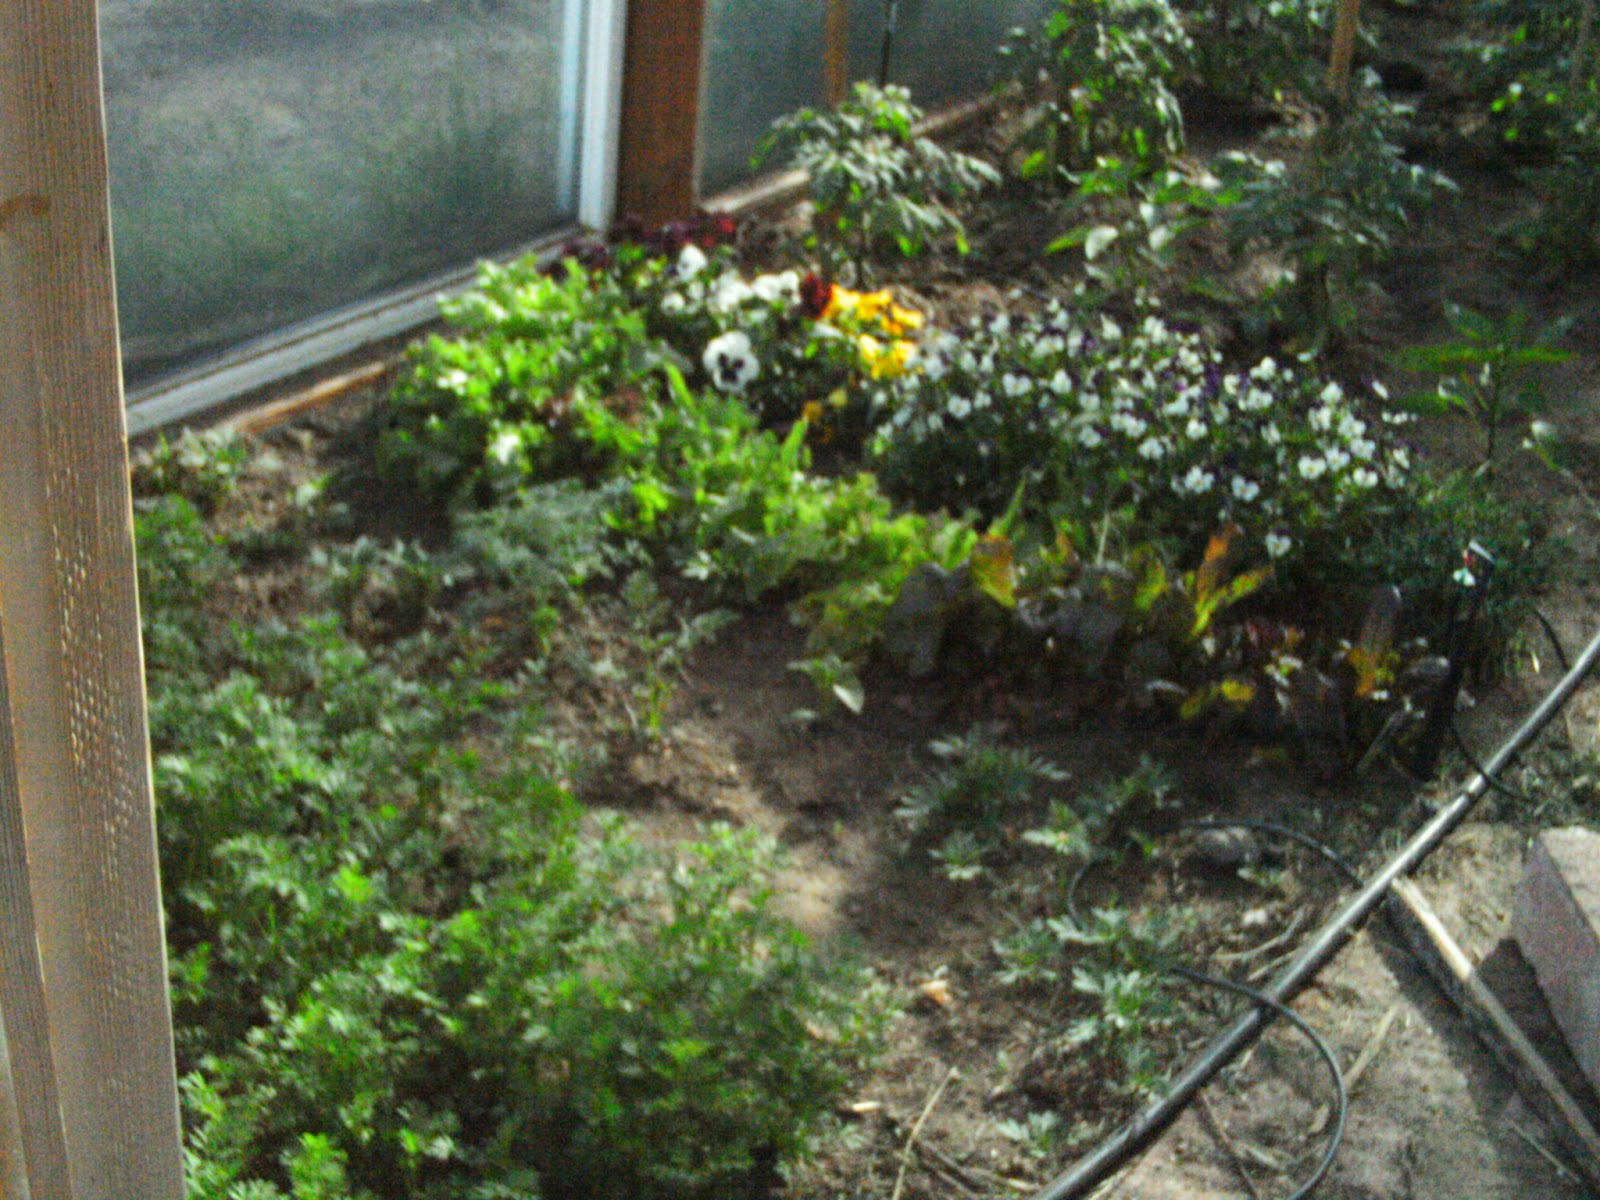
These two pictures show our 60 foot by 60 foot main garden right now at the end of May.  We have a very short growing season here in Eastern Idaho.  So, hopefully it will look like the picture below from last years garden.
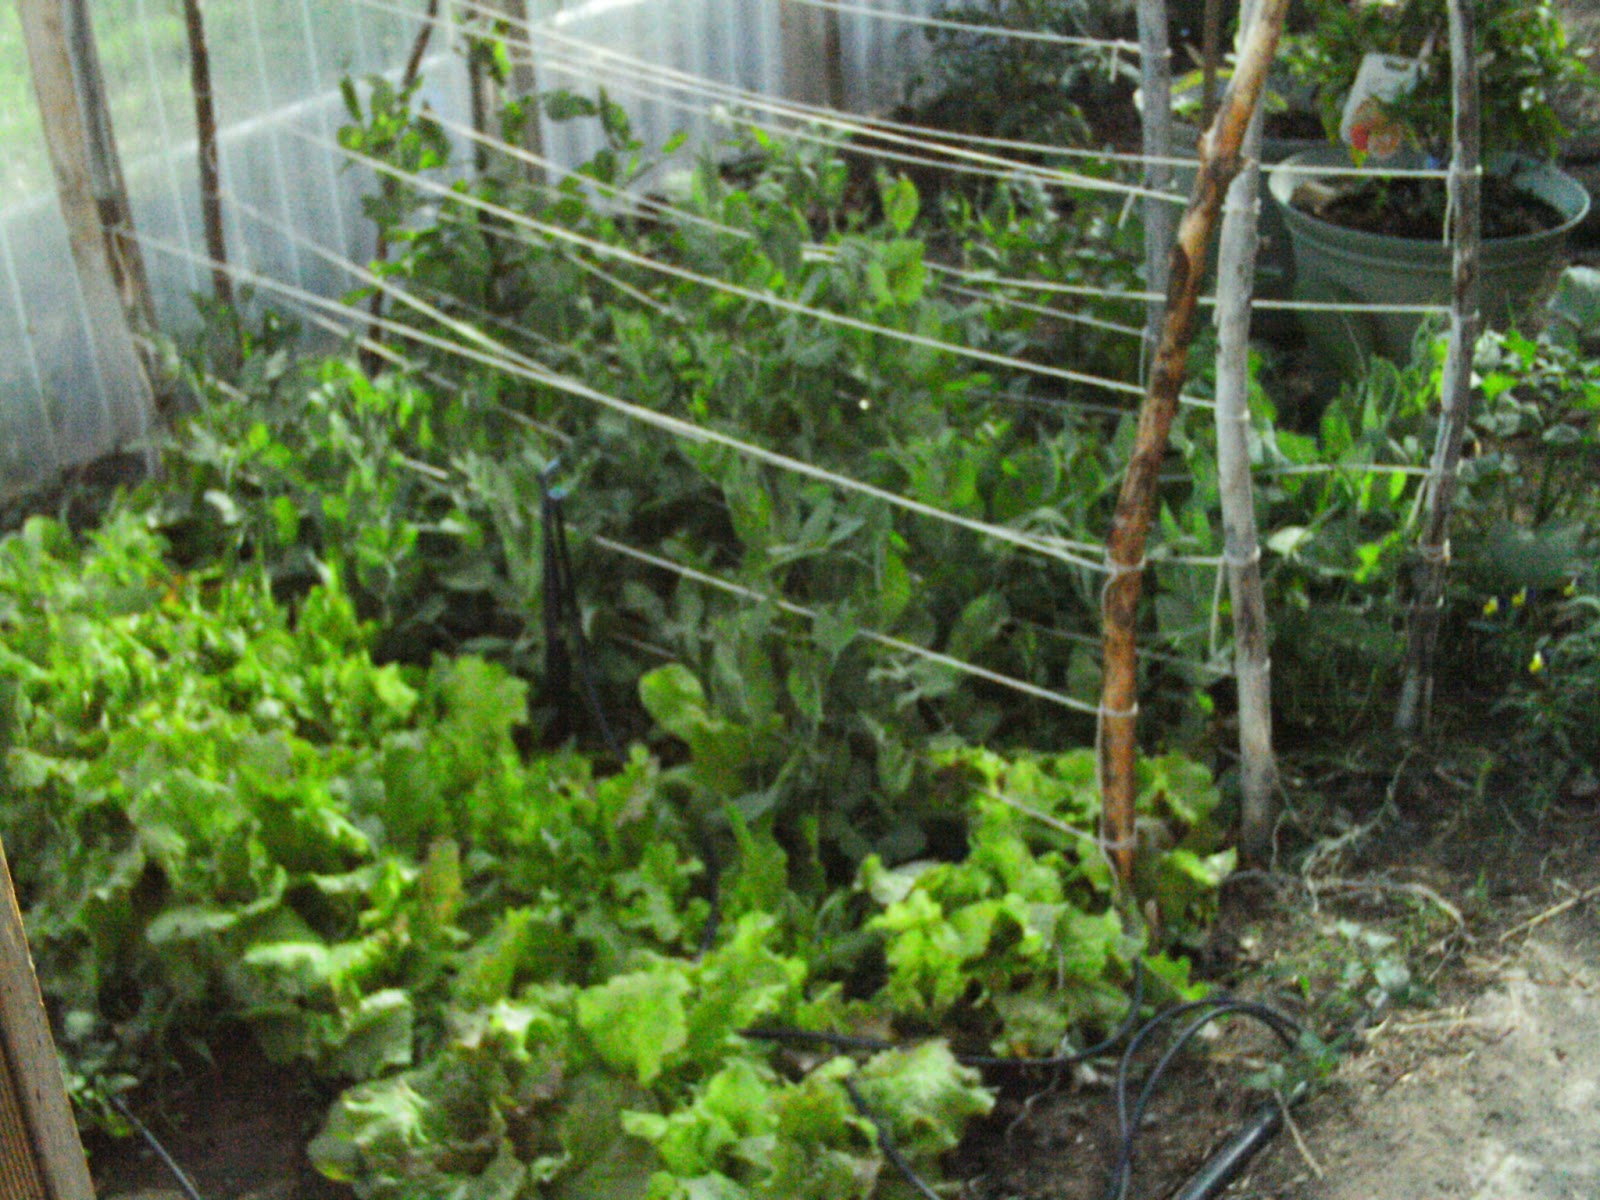


                The picture below shows our 60 foot by 60 foot main garden in late July last year.  By the look of the scene in the picture, it is hard imagine that the temperature in the winter here will get down past 25 below zero.


Raising Our Pigs

Raising pigs is a good addition to achieving food self-sufficiency.   They produce about one pound of weight to every 3-1/2 to 4 pounds of food that they eat.  The cost of the meat we raise is about 50 to 60 percent of what a butcher would charge, and then even much less than what a grocery store would charge at the meat counter.  We feed our pigs a hog grower feed, garden refuse and excess, moldy spoiled alfalfa hay, potatoes gleaned from farmer’s fields after the harvest, and less than desirable apples .  So, aside from the hog grower feed, the rest of their food is free.  The pork that we grow is much leaner, better tasting, and healthier for us than the pork grown in large commercial farms.  And, pigs are fairly easy to take care of, only requiring food, water, an enclosure, and a three-sided roofed shelter.

The spring is a good time to buy wiener pigs, which are baby pigs.  Buying them in the spring gives them time to reach butchering weight so we won’t have to feed them through the winter.  If we raise them through the winter much of the energy they would get from the feed will be used to keep them warm, and not used to put on weight.  So, it is not as cost effective as raising them in the spring.  We want them to be as big as possible at butchering time.
Albert Ein'swine and Brian
Porky and Albert Ein'swine
Nick, Porky, and Albert at -21 degrees


Monday, May 27, 2013

Amazing Solar Water Trough

Some time ago I found a story about a solar water trough project, and wanted to try it out.  Because we live in an area (Eastern Idaho) where we get winter temperatures down to -25 degrees, I knew I would have to change the design a little to compensate for the very low temperatures.  I made some changes and added about 4 inches of solid foam insulation under, over, and all around the galvanized metal water trough which is inside the plywood case.  Behind the clear corrugated poly-carbonate greenhouse panels in the front, is the front of the metal trough which is painted black to help absorb some heat from the sun.  The top is screwed down, and has a square hole on top where the cow drinks from.  The hole is a covered with an insulated top at night.  I have a water trough heater inside but have not had to use it.  I am amazed at how well the trough works.  Even at -25 degrees I have only found a slight skim of ice on top of the water's surface.  To warm the water up enough to last through the day without freezing, it only requires some added well water.  
Brian Drinking From the Solar Water Trough

Saturday, May 18, 2013

Food Self Sufficiency: How We Do It In A Severe Climate


Lee, Becky, and Nick have made the transition from city life to a country life of food-self-sufficiency, by taking small steps and gaining experience through trial and error.  We now are able to provide almost all of our food and have gained a sense of well being and safety from escalating prices, shortages, and instability that is so prevalent.
In the process of living the way we do, we have gained a lot of knowledge about self-sufficient living, and would like to share what we know with you.
 We describe how we grow and raise all of our food in our e-book, 'Food Self Sufficiency: How We Do It In A Severe Climate.'

Please click on the image
to download our
e-book for just $9.99
Please click on the image
to download the Kindle Edition of our
  e-book for just $9.99

                                                http://selfsufficiencyhowwedoit.com

Wednesday, May 15, 2013

Update On Our Seedlings And Greenhouses


This is an update from (May 2nd) a previous post.  We start many of our seeds in peat pellets and then transplant them into peat pots when they get bigger.  We do this to extend our growing season, because it is so short in Eastern Idaho.  That is because, we are at a 5,000 foot elevation at the edge of a high desert, and at a 43.9 latitude.  This is also a zone three climate.

During the day we take the seedlings out to our greenhouse for the sun, then we bring them into the house in the evening.  Some freeze tolerant vegetables we plant in the greenhouses before we can plant outside in our garden.

  So, by using our greenhouses to extend the growing season, so that it starts earlier and ends later, we can eat fresh vegetables over a much longer period of time.  This greatly reduces the amount of food that we have to preserve in order to have it throughout the rest of the year.

The picture on the left is showing our seedlings in peat pellets.  The picture in the center shows the same plants.  And the picture on the right shows lettuces and peas in the greenhouse.  The outside overnight temperatures have been 13 to 25 degrees (May 2nd), so the tomato and bell pepper plants have to rotate inside the house until the overnight temperatures are above freezing.


(May 15th). We now have the lettuces, melons, tomato, Chinese pea, and pepper plants planted in the greenhouses.  The tomato, pepper, and melons will have to be covered with a sheet if the overnight temperature gets down to about 25 degrees.  The peas will be fine because they don't have pods on them yet, which are killed by a freeze, and the lettuces (we have found) will survive in the unheated greenhouses with an overnight temperature down to 9 degrees.  We also have flowers planted to attract bees into the greenhouses.  We will have to  use a small paintbrush and hand pollinate the blossoms on our vegetables when they form, because it will still be too cold here for bees early in the spring.  


Details:
   Through our efforts we are now able to raise fresh vegetables typically nine months of the year. We give a detailed description of how we construct our greenhouses, and how we grow our food in our e-book, ‘Greenhouse Growing and Construction: How We Do It.’ 

Tuesday, May 14, 2013

Greenhouse Growing And Construction: How We Do It


 Our family lives in a severe high desert climate where the winter temperatures can reach -25 degrees, and the growing season is short and windy. We have learned through trial and error how to significantly increase our vegetable production by extending the growing season with our three greenhouses. And, we have succeeded in growing foods that traditionally have not survived in our area.

   Through our efforts we are now able to raise fresh vegetables typically nine months of the year. We give a detailed description of how we construct our greenhouses, and how we grow our food in, ‘Greenhouse Growing and Construction: How We Do It.’


Greenhouse Growing and
Construction: How We Do It
Please click on the image to order our
book for just  $4.99
Greenhouse Growing and
Construction: How We Do It

Please click on the image to order our
Kindle Edition book for just $4.99


Saturday, May 11, 2013

Butchering Our Cornish-Cross Meat Birds

Today we butchered 7 of our Cornish Cross meat birds.  Nick timed me on how long it took for each one, and I skinned them at 5 minutes a piece.  It never fails, I also cut my thumb pretty badly on the last bird.  We don't usually pluck them because we will usually get 40 to 60 birds.  Because this variety of meat bird grows so large, it is better for us time wise just to skin them.  The breasts, thighs, and drumsticks are big and we get a lot of meat from them.  The 7 chickens gave us 22 pounds of meat.  This is a little light, per-bird-weight, but we will let the rest grow a bit more.  The pictures below show one of the breasts and the container of meat.  We put it in the refrigerator to age for three days otherwise it will be tough.  We forgot to do this one year and couldn't figure out why the chicken in every other meal was tough.  We discuss how we raise and butcher them in great detail in our e-book 'Food Self-Sufficiency: How We Do It In A Severe Climate.'

A Chicken Breast
22 Pounds of Chicken Meat
     
Becky and Nick went on a 10 mile hike today and saw a herd of elk, bear tracks, and wolf tracks.

Thursday, May 9, 2013

Some people may think that living in the country is boring.

Kayaking in the Tetons
Grizzly and Wolf prints Yellowstone
Grizzly Print in Yellowstone 
Moutain Goat
Backpacking Yellowstone National Park
Skiing in Craters of the Moon
Nick and Sirus at the Ashton, Idaho Dogsled Races
Trout We Caught Kayaking

Nick, Sirus, and our dogsled.


Wednesday, May 8, 2013

Irrigation Day Fun

Nick, his kayak, and Sirus on irrigation day.  Nick loves to play in the water on irrigation day.


Saturday, May 4, 2013


Fruit Leather After Dehydration

Raspberry Fruit Roll-ups

There are more recipes on   http://selfsufficiencyhowwedoit.com


Take 1 cup of your frozen raspberries and place in a colander.  Allow to thaw and drip for up 8 hours or until all the juice is out of the berries.  Add this juice to 3/4 of a quart of your homemade apple sauce.  Add 3 Tablespoons of sugar if desired, to taste.  Mix.  Pour to a 1/4 inch thickness on your dehydrator fruit roll sheets.  Dehydrate at 140 degrees for approximately 6 hours depending on your dehydrator.  If still sticky, dehydrate longer checking periodically.  Allow to cool completely. Tear off into serving size pieces and roll up.  Put into a ziplock storage bag.   
1 cup strawberries or 1 cup blackberries can be used instead of raspberries.


Raspberries in a Colander


Friday, May 3, 2013

http://selfsufficiencyhowwedoit.com

Our son Nick has been in lamb 4-H, this will be the fourth season.  He learns how to take complete care of an animal, besides his usual chores, and he gets some income when he sells the lamb at the county fair.  In 4-H they teach the kids how to handle their expenses, take care of the animal, and how to show and present them in the arena.  Its a great program for kids.  Nick has raised Tio, Julio, and Sonador.  This is his new lamb Bajio.

Thursday, May 2, 2013

http://selfsufficiencyhowwedoit.com


We start many of our seeds in peat pellets and then transplant them into peat pots when they get bigger.  We do this to extend our growing season, because it is so short in Eastern Idaho.  We are at a 5,000 foot elevation at the edge of a high desert, and at a 43.9 latitude.  This is also a zone three climate.

During the day we take the seedlings out to our greenhouse for the sun, then we bring them into the house in the evening.  Some freeze tolerant vegetables we plant in the greenhouses before we can plant outside in our garden.

  So, by using our greenhouses to extend the growing season, so that it starts earlier and ends later, we can eat fresh vegetables over a much longer period of time.  This greatly reduces the amount of food that we have to preserve in order to have it throughout the rest of the year. 

The picture on the left is showing our seedlings in peat pellets.  The picture in the center shows the same plants.  And the picture on the right shows lettuces and peas in the greenhouse.  The outside overnight temperatures have been 13 to 25 degrees, so the tomato and bell pepper plants have to rotate inside the house until the overnight temperatures are above freezing.


Update on Our Update


This is kind of an update on my Cornish Cross meat birds.  I usually buy about 40 to 60 chicks in the spring, but this time I only bought 25 due to the amount chicken we still have in the freezer.  When I butcher them at 10 to 12 weeks they give us about 4 1/2 to 5 lbs. of breast, leg, and wing meat per bird.  That gives us about three meals per bird for three people, depending on how it is fixed.

I am always amazed at how fast they grow.  These pictures show them at 2 days, 3 1/2 weeks, and 6 1/2 weeks old.

We ended up with 65 pounds of breast, thigh, leg, and wing meat from the 21 chickens that survived and we ended up butchering.


Wednesday, May 1, 2013

Jerky Recipe

Teriyaki Jerky
 
Slice a partially frozen roast, or round steak against the grain with an electric knife, meat slicer, or good kitchen knife (Avoid meat that has fat in it as it will turn rancid, or you can cut the fat out).  Slice to approximately 1/8-1/4 inch thickness.  This is jerky, it doesn't need to be perfect.  Place all of the meat into a plastic container or ziplock bag.  Add marinade and let soak for about 24 hours.  Put the slices onto the plastic rack in a dehydrator.  Do not let the meat touch.  Turn the dehydrator to 150 degrees. After one hour turn the meat so that the other side is facing up.  It usually only takes 2 hours, so keep an eye on it.   


                                     Marinade
3/4 cup soy sauce
1/2 cup sugar
1 clove garlic, minced
1 tsp ground ginger
Combine above ingredients.  Does Not need to be refrigerated.  

For Chipotle Teriyaki,  pulverize 2 chipotle peppers from a can of Embasa brand chipotle in adobo sauce into the above marinade.  Freeze the rest of the peppers in small ziplock bags in quantities of 2 peppers for future jerky.

There are more recipes at: