Total Pageviews

Sunday, October 20, 2013

Grizzly Bear Claw Marks

Yesterday we went hiking in Yellowstone National Park near where we live and came across this tree that had claw marks on it.  There were three of them.  We thought it was interesting enough to take a picture.


http://www.selfsufficiencyhowwedoit.com

61 Pumpkins for Pumpkin Pie and Pumpkin Bread

      We raise Sugar Baby eating pumpkins every year for pumpkin pie, pumpkin bread, and pumpkin muffins.  It is very health and tastes great.
            Pumpkins are started in peat pots around the second week in April.  About the second week in June they can be planted in the garden if there aren’t overnight freezes.   In the fall as the pumpkins ripen and the nighttime temperatures get to freezing, we snap them off of their stem, and take them down into our basement.  We place them on a blanket and space them so none are touching, which will prevent them from rotting.  There they stay until we are ready to process them for pumpkin pie.  Pumpkins that don’t get used for pie are fed to the cows and pigs. 

Pumpkin Pie and Pumpkin Bread mixture:
When the pumpkins are ready to use we clean the pulp and seeds out of them and cut them into pieces.  The pieces are put into a steamer/juicer and steamed for 20 to 25 minutes.  Next the soft pulp is scooped off of the rind, and the pulp pieces are put through a food strainer with a pumpkin screen.  The puréed pumpkin can then be put into sealable freezer bags of two cup portions and put into the freezer.  We put them into two cup sizes because most recipes call for 16 ounces.  Then it can be taken out of the freezer and thawed when needed for bread or pie recipes. 
Previously instead of using a strainer, we would bake the pumpkin in the oven until the pieces are soft, but this is much more time consuming.        


61 pumpkins in our food storage


Sunday, October 6, 2013

Apple Cinnamon Syrup Recipe

With apple picking season upon us in Eastern Idaho, we get very busy all of a sudden picking as many apples as we can, in the short time when they become ripe.  We use most of the apples that we pick for cider.  We also have many families in the area coming over to use our apple press to make cider.  The Transparent apple variety is very good for apple sauce.  We also make Apple Cinnamon Syrup.  It is good to add a syrup variety to waffles and pancakes.

Apple Cinnamon Syrup

6 cups apple juice
3 cups sugar
1 cup corn syrup
2 cinnamon sticks

Combine apple juice and cinnamon sticks.  Simmer 5 minutes.  Set aside for 2 hours.  Bring juice to a boil and add sugar, then cook down for about 45 minutes.  Add corn syrup.  Remove the cinnamon.  Immediately put the hot syrup into hot jars (pour hot water into jars to heat them), and invert them for 5 minutes.
Apple Cinnamon Syrup

Apple Press

Thursday, August 15, 2013

Apple Pie Filling Recipe

Apple pie filling recipe makes 6 to 7 quarts.
2 1/2 cups sugar
2 cups brown sugar
1 cup cornstarch
*1 teaspoon cinnamon
*1 teaspoon nutmeg

* We use 1 1/2 teaspoons.

Mix ingredients in a large 5 to 6 quart sauce pan.  Stir in 2 1/2 quarts of water.  Heat to boiling.  Cook until thickened then stir in 2 tablespoons of lemon juice.  Fill jars and leave 1/2 inch of head space.

Boil your canning lids for 10 minutes, wipe off the tops of canning jars to remove residue, attach lids and rings, then process in a steam canner or hot water bath for 25 minutes.  We use a steam canner.

Peeling and coring.

Filled jars.

Filling with sauce.

Steam canning.
http://selfsufficiencyhowwedoit.com

Friday, August 2, 2013

Our New Pigs

Raising pigs is a good addition to achieving food self-sufficiency.   They produce about one pound of weight to every 3-1/2 to 4 pounds of food that they eat.  The cost of the meat we raise is about 50 to 60 percent of what a butcher would charge, and then even much less than what a grocery store would charge at the meat counter.  We feed our pigs a hog grower feed, garden refuse and excess, moldy spoiled alfalfa hay, potatoes gleaned from farmer’s fields after the harvest, and less than desirable apples .  So, aside from the hog grower feed, the rest of their food is free.  The pork that we grow is much leaner, better tasting, and healthier for us than the pork grown in large commercial farms.  And, pigs are fairly easy to take care of, only requiring food, water, an enclosure, and a three-sided roofed shelter.

The spring is a good time to buy wiener pigs, which are baby pigs.  Buying them in the spring gives them time to reach butchering weight so we won’t have to feed them through the winter.  If we raise them through the winter much of the energy they would get from the feed will be used to keep them warm (we get down to negative 25 degrees Fahrenheit), and not used to put on weight.  So, it is not as cost effective as raising them in the spring.  We want them to be as big as possible at butchering time.  We give details in our e-book 'Food Self-Sufficiency: How We Do It In A Severe Climate.'

We had trouble finding pigs this spring, so we just got a couple three days ago.  It looks like we will be raising these through winter.  We put the larger one in an enclosed area where we are going to build another greenhouse.  The idea is that the pig will root around and eat all the grass and grass roots before we build it.  We hope it works, so the ground in the greenhouse will be weed and grass free.  Nick our 11 year old named them Pork-Etta and Chop-Chop.


Thursday, August 1, 2013

Our Broody Duck Scrooge

Our duck Scrooge has been sitting on a nest under a tarp which is over a straw bale, since about March.  She has been very protective of her eggs but they won't hatch, no boy duck.  So, my son Nick and I got a duckling and tried to get Scrooge to accept the duckling.  Nick took Scrooge away from the straw bale so she couldn't see me take her egg out, and put the duckling in the nest.  When he brought Scrooge back she kept kicking the duckling out.  But we persisted for about an hour and Scrooge finally accepted the duckling, and let is spend the night.  Today the duckling followed mom around, and mom was very protective.


Putting Netting Over Our Raspberries

We have been meaning to put netting over our raspberries for three years or so, but could never get around to doing it.  Every year we watch the birds go after them and kick ourselves for not doing it again.  Two winters ago a snow drift about 6 feet deep plowed them down, so we didn't get many last year.  But this spring we put in a net over our raspberries on one row.  We have two other rows that are still suffering a little from being wiped out, so we only did the one.  We have been getting about three times the amount from the netted row as from the other two rows together.  So much for putting it off.  We will now be more diligent in getting the other two covered next season.  We had no idea the amount we were actually loosing to birds.  We use a lot of raspberries.
We used treated 2 x 4's at each end and one in the middle.  Over the top we have strung wire(hot wire, wire) in down the middle and at the ends.  Then we have three strands down the sides to hold the stalks in toward the center.  Then nettine is place over the top and down the sides.  At the ends we have little teacup holder hooks, to hook the netting to, to keep it closed.


Grape Cluster Problem

Grape Cluster Problem
This was previously posted and we came up with a good solution.

I was wondering if anyone had an idea of how to take care of this problem?

We have 15 grape vines with a lot of grape clusters on them.  And, we also have a lot of wasps and yellow jackets that eat them every year just as they are ripening, because they are next to our orchard(we don't have this problem with the grapes in the greenhouses).  We have lava rock walls half-way around them to protect them from the wind during the winter.
So, we are trying to come up with a way to protect the clusters from the wasps.

We thought of covering the whole plant with fabric like window screen to keep the wasps out.  But the lava rock walls have spaces between them and any wasps can get through.

If we covered the whole plant and rock wall with a 4x4x3 foot frame covered with screen fabric, that would work but consists of a lot of labor to make them, but we would re-use them every year.

The best idea and maybe the least amount of effort we can come up with is to loosely wrap each cluster (there are a lot of them) with window screen type of fabric to keep the wasps away from the grape clusters.

If birds were the only problem we could just cover each row with netting, like we do our raspberries.  But, wasps can get through the netting.  If we can get a large roll of window screen type of fabric netting and cover whole rows (we haven't looked for it yet) that would probably be the better.

Maybe some of you can see a solution which we don't see yet.  Thanks, Lee Garrett.

*We were given a solution to use yellow jacket traps.  We thought this would work because we use them in our fruit trees, but didn't want to have to buy so many more.

Our solution was to make net fabric socks/bag to go over the individual clusters.  It works really well and is cheap and easy to make.  We weren't sure if this was too much work for the return, but turned out to be a good idea.  We just make ten or so a day on the sewing machine ( one minute apiece tops) and add a tie with a needle and thread.  And  we can reuse them every year.


Canning Raspberries/Blackberries/Blueberries

Rinse berries.  Fill quart jar 1/2 with berries.  Add 1/3 to 1/2 cup of sugar depending on your taste.  Shake jar to let berries and sugar settle.  Fill the jar to 1/2 inch from the top with berries.  Shake jar to let berries settle.  Add 1/3 to 1/2 cup of sugar depending on your taste.  Add more berries if necessary to 1/2 inch of top.  Add boiling water, leave 1/2 inch head space.  Place processed lids (boiled) and screw top on. Process in a steamer or hot water bath for 20 minutes.


Half filled and filled jars, no water added yet.

Saturday, July 20, 2013

Our Blueberries are Loaded

When we started our blueberries we didn't have much success because they always looked sickly and didn't produce.  We found that digging decomposed pine needles into the ground around the plants help them by raising the acidic level.  Every time we go hiking or camping we bring back three or four plastic shopping bags of the dirt from around the base of pine and fir trees.  Sulfur will work also but we like using the pine needles.  And the blueberries have been doing very well.
One of our blueberry bushes

There is a big difference in fertilizers.

We inadvertently performed a little test on which fertilizers are better; chemical fertilizer, a little horse manure, or a lot of horse manure.
Our adult son works at a fertilizer co-op that supplies the potato farmers around here with chemical fertilizer, and he put it on two rows of his corn.
We planted some corn with 4 inches of manure tilled in.  And our 11 year old son planted his corn on what was a pile of manure tilled in.
Our 11 year old's grew the tallest.  The corn we planted in 4 inches was the next tallest.  And the corn that was fertilized with chemical fertilizer was half as tall.
Corn in the garden
Corn near the grapes

Friday, July 12, 2013

Brick Heat-Sink Greenhouse Walkway

Down the center of the greenhouse floor is a walkway of bricks.  We were able to get the bricks at no cost, so we used 12” bricks.  But, any type of material that will absorb heat from sunlight and serve as a walkway will work.  The walkway is set in sand and is insulated on the sides and underneath with a layer of plastic sheet.  The walkway is intended as a heat sink which absorbs heat during the day, and releases heat into the greenhouse at night.  This helps to keep the temperature inside just above freezing.  This brick heat sink makes a big difference in plant survival when the outside night time temperature gets very cold.  The plastic sheeting is a barrier underneath, which insulates the bricks from the ground in order to reduce the heat absorbed by the bricks from bleeding into the ground, instead of radiating into the interior.  Between the walkway and the front (South) wall and back (North) wall, are the planting beds.
The picture in the picture shows the brick walkway.  The procedure for putting in the walkway is as follows.  Two 2 x 4s are leveled with a bubble level on the sides of the walkway area.  Then a leveling board shown at the top of the picture rides on the 2 x 4 s, and levels the sand in between them, which the bricks will sit on.  But, first the plastic is laid down on top of the sand and the bricks sit on top of the plastic barrier.

Before the brick is started, a design for the walkway should be decided.  This walkway is just a simple alternating brick design.  The first bricks in the first, third, and fifth rows should be cut in half, so that the rows have alternating seams.  A circular saw with an abrasive blade, or diamond impregnated blade can easily be used to cut the bricks.  The brick walk is stopped two feet from the opposite wall, which will leave enough space at the end of the walkway for planting.
 
To extend the growing season as much as possible, we grow many things in our greenhouses and are able to get more crop rotations every year.  We are also able to start the vegetables for the garden earlier and plant the seedlings when they are older, which helps the garden vegetables reach maturity before the growing season is over.  By using the greenhouses to extend the growing season, so that it starts earlier and ends later, we can eat fresh vegetables over a much longer period of time.  This greatly reduces the amount of food that we have to preserve in order to have it throughout the rest of the year.
Brick Walkway for Greenhouses


Keeping Mice and Voles Out of the Greenhouse

      Rodents can cause serious problems if they can get inside a greenhouse.  In the spring it is fun to watch as tender shoots start to stick up through the ground in the greenhouse.  It is no fun to walk in to see how big they are getting, and discover that they have all been eaten.
      Rodents such as voles and mice are able to get into the greenhouses by digging under the walls and eating the vegetables unless there is some way to seal off the interior.
Our solution to this problem was to construct a barrier around the inside perimeter of the greenhouses below the ground surface.
      Along the interior perimeter 60 feet of 10 inch wide sheet metal construction flashing is buried, and screwed onto the ground-level pressure-treated wood 2” x 4”s or plate, which are at the bottom of every wall.
This is illustrated in the picture below.  Putting in this underground barrier helps prevent the mice and voles from digging under the walls and eating the plants.  It is important to make sure that the metal touches the wood.  If there is a wrinkle in the metal that allows a gap of even ¼ of an inch wide, it will need to be closed so that the voles won’t squeeze through the opening.  And, if all else fails use mouse traps.
This is an excerpt from our e-book 'Greenhouse Growing and Construction: How We Do It' which can be purchased and includes all of the details of how we construct them and how we use them to grow all of our vegetables.  http://selfsufficiencyhowwedoit.com
Sheet Metal Barrier

Wednesday, July 3, 2013

Self Sufficiency: Cutting Firewood

We cut our own firewood to heat with, even though we have propane heat if we need it.  Every year July 1st we stop by the forestry office and pick up firewood cutting permits.  We use about 7 cords of wood through the winter, give or take.  This year because we have a couple of cords left we are cutting 6 cords.  We try to get up into the mountains as soon after July 1st as possible, so we can get our cutting done before the downed or dead trees are taken, which are closest to the sides of the roads.  Many times we are the only people cutting their wood, because most people wait until the last few weeks of cutting season to start.  We cut our first cord today.  Below, Nick limbs some of the wood, and stacks some in the truck.  Becky is blocking wood with a chainsaw.


Monday, July 1, 2013

How we plant in our greenhouses.

Around January, it is necessary to make plans for what is going to be planted in the greenhouses and approximately when it will be planted (we also use a calendar).  Otherwise, plantings won’t be planted on time and then the rest of the vegetable rotations will be thrown off as a result.  What we do is make a map of the vegetables that will be planted as illustrated in the two figures below.  Some of the plantings in the greenhouses will be permanent such as the grapes, asparagus, and a Pix-Zee Peach, but some vegetables will be planted in the spring, and then in the same spot others will be planted in the fall.  We also plant some Marigolds in the greenhouses in order to attract bees to the inside so they will pollinate the vegetable blossoms.  Some of this is an excerpt taken from our e-book 'Greenhouse Growing and Construction: How We Do It.'  http://selfsufficiencyhowwedoit.com  We also map out our outdoor garden.

Planting Map Greenhouse #2
Planting Map Greenhouse #3


Orchard, Grapes, and Greenhouses

It is amazing the contrast between winter and summer here.  We have a very short growing season so everything (including weeds) seems to explode into green, in a very short amount of time, in order to make the most of it.  So, all of a sudden we are very busy.
Below is our house in the winter, our house this morning, and our orchard looking toward the house and greenhouses.


Friday, June 28, 2013

Grape Cluster Problem

I was wondering if anyone had an idea of how to take care of this problem? 

We have 15 grape vines with a lot of grape clusters on them.  And, we also have a lot of wasps and yellow jackets that eat them every year just as they are ripening, because they are next to our orchard(we don't have this problem with the grapes in the greenhouses).  We have lava rock walls half-way around them to protect them from the wind during the winter. 
So, we are trying to come up with a way to protect the clusters from the wasps.

We thought of covering the whole plant with fabric like window screen to keep the wasps out.  But the lava rock walls have spaces between them and any wasps can get through. 

If we covered the whole plant and rock wall with a 4x4x3 foot frame covered with screen fabric, that would work but consists of a lot of labor to make them, but we would re-use them every year.

The best idea and maybe the least amount of effort we can come up with is to loosely wrap each cluster (there are a lot of them) with window screen type of fabric to keep the wasps away from the grape clusters.

If birds were the only problem we could just cover each row with netting, like we do our raspberries.  But, wasps can get through the netting.  If we can get a large roll of window screen type of fabric netting and cover whole rows (we haven't looked for it yet) that would probably be the better.

Maybe some of you can see a solution which we don't see yet.  Thanks, Lee Garrett.
Our outside grapes

Monday, June 24, 2013

New green beans in the greenhouse.

We have new green bean pods in the greenhouse, but the green beans in the garden are barely starting to grow, because of the lateness of warm enough weather here (Eastern Idaho short growing season).  We couldn't grow all the food that we need without the greenhouses.
Green bean pods
Greenhouse #1
Greenhouse #2

Garden green beans

Tuesday, June 18, 2013

Some of our cows from the past and present.

      Milkshake gave us Brian the day this picture below was taken.  Later that day she wasn't attentive to Brian as she had always been to her calves.  And, she was standing out in the pasture staring off into space and not acting like her old self.

      The next morning she was on the ground barely breathing.  So, we called a rancher friend who came over with some bottles of calcium and we fed her intravenously, but later that day she died.  Because Milkshake was an older cow, she was susceptible to Milk Fever.  Milk Fever is not really a fever but a condition called Hypocalcemia which is low blood calcium levels.  The low calcium causes problems with muscle function and causes weakness, and eventual heart failure.  Older cows and certain dairy breeds are more susceptible to the problem.  But, we didn't know about Milk Fever before this happened.  It was a very sad day to lose Milkshake.


      After Milkshake died, Brian had to be bottle fed.  We used 12 ounces of dry milk re-placer powder, mixed with 8 cups of warm water.  This was mixed in a bowl with a whisk before pouring it into the bottle.  We fed Brian two bottles a day until the bag of milk re-placer was used up.  This lasted about 8 weeks.  We started feeding him three times a day for the first few days until he got used to the re-placer, then changed to twice a day using the same total amount.  When the bag of milk re-placer was almost gone we tapered down the amounts, to wean him off of it gradually.  Tapering down the amounts of milk re-placer is better for the calf’s system.  The picture below shows Nick feeding Brian a one quart bottle of milk re-placer.


      The picture below shows Brian some time before he was sent to be butchered.

This is Yum-Yum our newest steer.


Monday, June 17, 2013

Our challenge with grapes.

Grapes: 

      We have encountered challenging problems with growing grapes here, due to the severe winter cold.  Our grape vines near the orchard died their first winter.  After planting these grapes we tried to insulate them with straw to protect them from the harsh winter freezing.  We used flakes of straw about 2 inches thick laid over the plants.  A flake is a section of hay or straw that naturally flakes off of the end of a bale after the twine has been cut.  This solution didn't work the way we had hoped.  Half of the vines died completely, the rest died back to the ground and the root only survived.  Since it takes grapes two or three seasons to start producing, these roots started from the beginning again. The grapes came back and started growing but we wanted to figure out what to do to help them survive, or we would encounter the same problem in the coming winter.

      We checked with people around the area and found out that there was one person who was having success, by planting them along a rock wall.  So our solution was to stack up small 18 to 24 inch high lava-rock half-circles around the vines with the open side facing south.  This has worked very well and all the vines have survived well and are producing.
As shown in the picture we now have 15 grape vines growing near the orchard, each with their individually stacked half round rock wall and all are doing very well.

                             http://selfsufficiencyhowwedoit.com

Saturday, June 15, 2013

Our orchard is bearing apples, pears, and plums.

The area that we live in is very windy and knocks the blossoms off of our fruit trees.  We are never sure if we will get any fruit.  So I checked our trees and all of them have small apples, pears, or plums.  Hopefully our fruit doesn't get knocked off by the wind when they get bigger.


Monday, June 10, 2013

Using Our Apple Press This Fall

Using Our Apple Press:
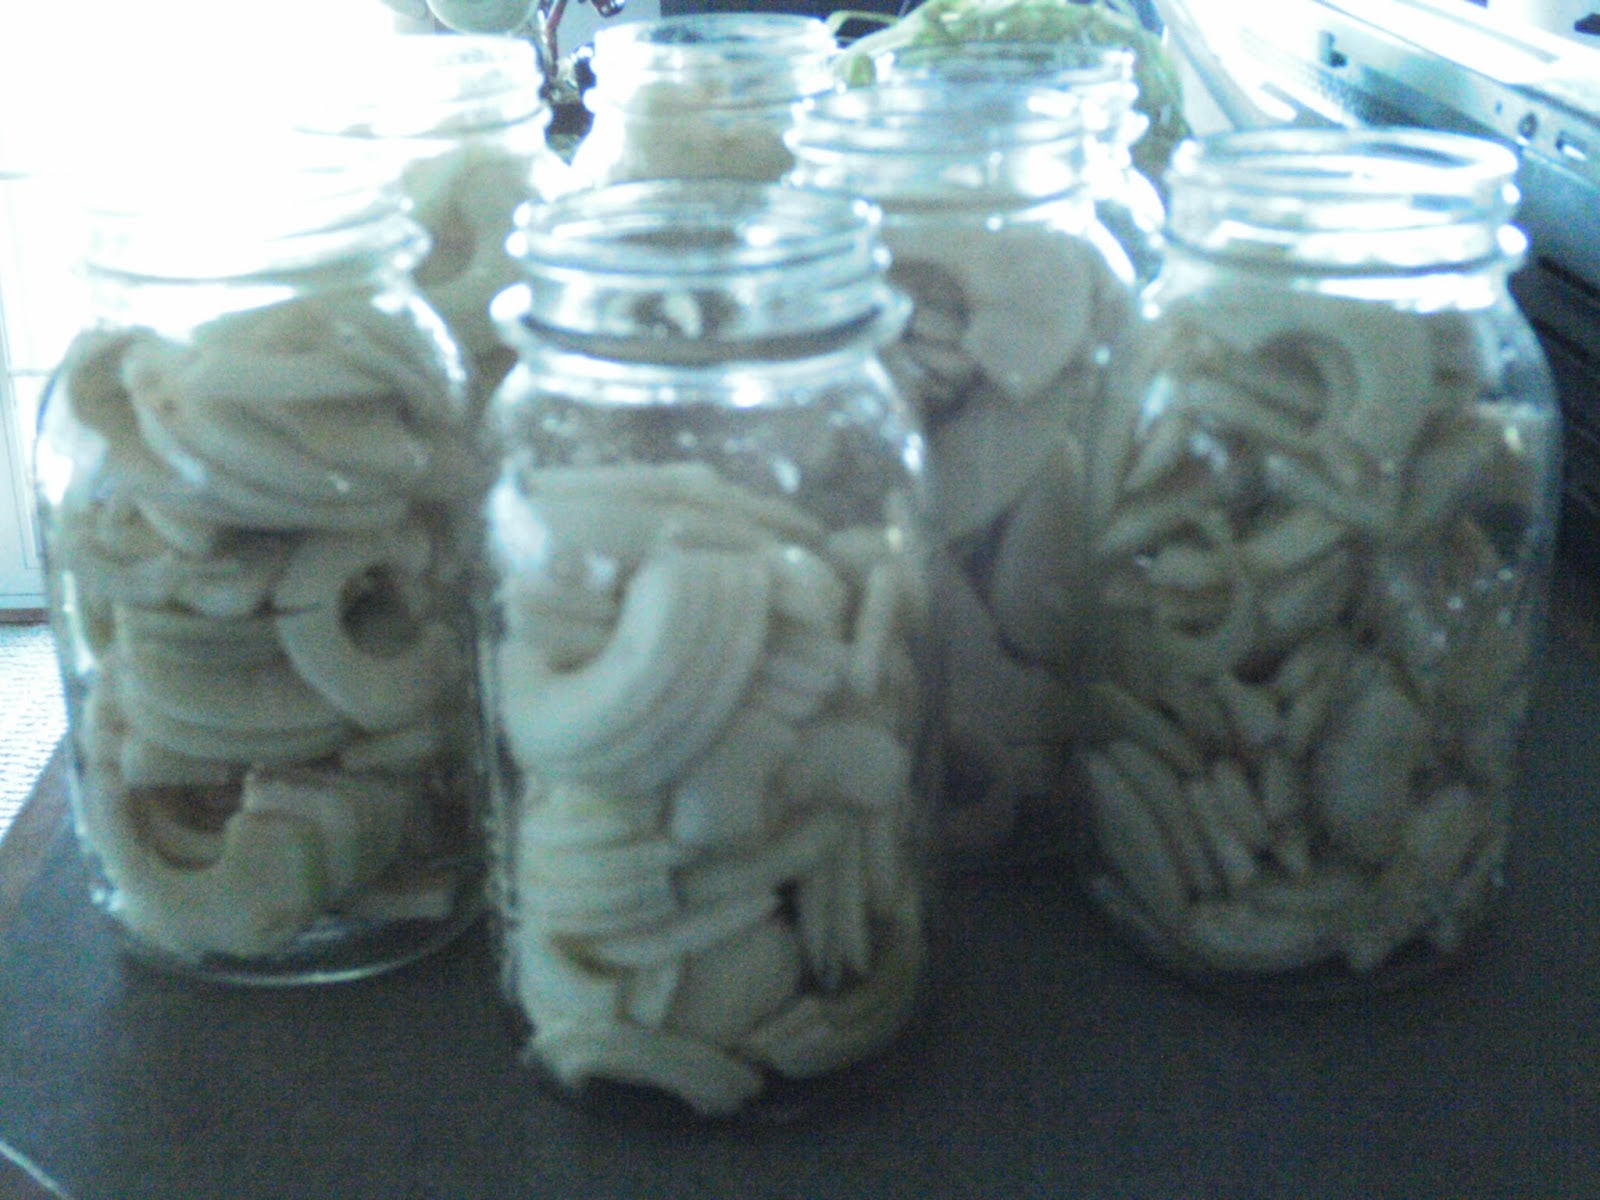
Our procedure for harvesting and pressing apples for cider is as follows.  We pick three to six 5-gallon buckets of ripe apples at a time, and process them within two or three days.  First, the press is set up with a large container underneath for the cider to drain into, which also has a strainer set on it to filter out any large pieces that may fall in.  Then, the apples are washed in a bucket of water before they are processed in the press.  But, we can usually skip this step if the apples look pretty clean, and if we know there hasn't been any chemical spraying on the trees.  Next, one of us puts the apples into the hopper, skin and all to grind them up, while the other person turns the grinding wheel handle.  The chopped up apples drop into a mesh-cloth-lined tub container under the hopper, where the chunks collect until the container is full.  While the tub container fills up with chopped apples, occasionally one of us pushes the pieces down to pack the container more tightly until we are ready to press it.  When the tub container is full, we put the round tub-ram into the tub and press the cider by cranking down the large pressing screw on top of it.  The container with the strainer on top catches all of the cider, and then food safe bottles are filled with cider, and frozen.

When we pick the apples we only take home apples that we have picked on the tree.  We don’t take any off of the ground, and if we drop one then it doesn't go home with us.  This way we don’t have any sanitation problems.  Most of the apple trees in this area are flood irrigated so there is the chance of getting apples with e-coli or something else on them if they have been on the ground.  Although, sometimes we will take home apples off of the ground and feed them to our animals, but we keep them separate from the apples that we eat.

When our son was very young we pressure canned some of the apple cider in canning jars just for him, in case of bacteria.  But, we have never had any problem with drinking fresh pressed apple cider, or cider frozen for later use.

The picture shows apples getting chopped up in the hopper, and then collecting in the mesh-lined tub   Notice that the cider is already starting to flow before it is pressed.


Below Nick is turning the pressing screw and pressing some ground up apples into cider.  On the top of the stainless steel container is the strainer to keep out any chunks of apple that could miss the tub and fall into the cider.

We also use apples we pick for applesauce and apple pie filling.  Transparent apples make excellent applesauce and pie filling, but are absolutely horrible for cider.   We prefer Strawberry Crab and McIntosh the most for cider, and mixing these varieties of apples makes very good cider.

This is an excerpt from 'Food Self Sufficiency: How We Do It.'

Wednesday, June 5, 2013

Our Potatoes in Our Small Greenhouse.

These are a few potato plants in our small greenhouse, compared to a farmer's potato field across the street.


Potatoes in Our Small Greenhouse
Farmers Potato Field across the street